Showing posts with label Halloween. Show all posts

Thursday, November 21, 2013

Halloween 2013 - Part 2 Disney Villains


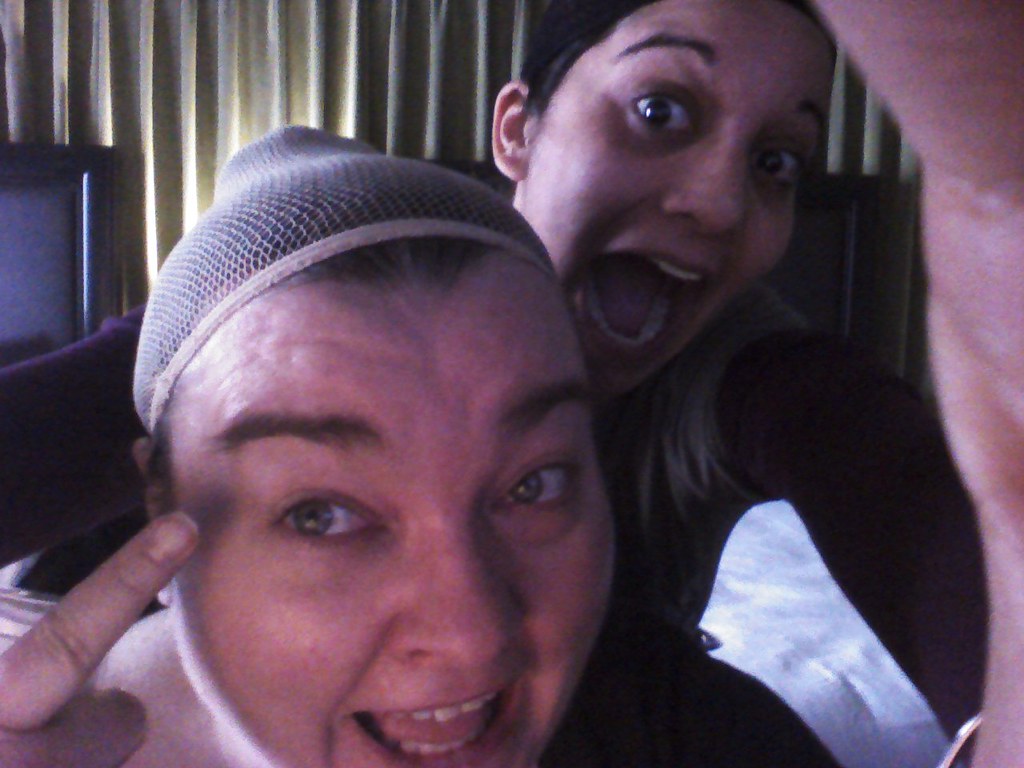
Why start this off with the finished product? Wig cap "selfie" way more fun!
Dejathoris and I had a full set of Disney Villains lined up for a party on Oct 26th, but then everything fell apart. THEN, the party we were planning on going to was canceled and the replacement party was just out of additional villains budgets. So we went just the two of us to this amazing party thrown by the Calgary Opera and Green Fools Theater company: Grave Gala 2013... It was awesome!

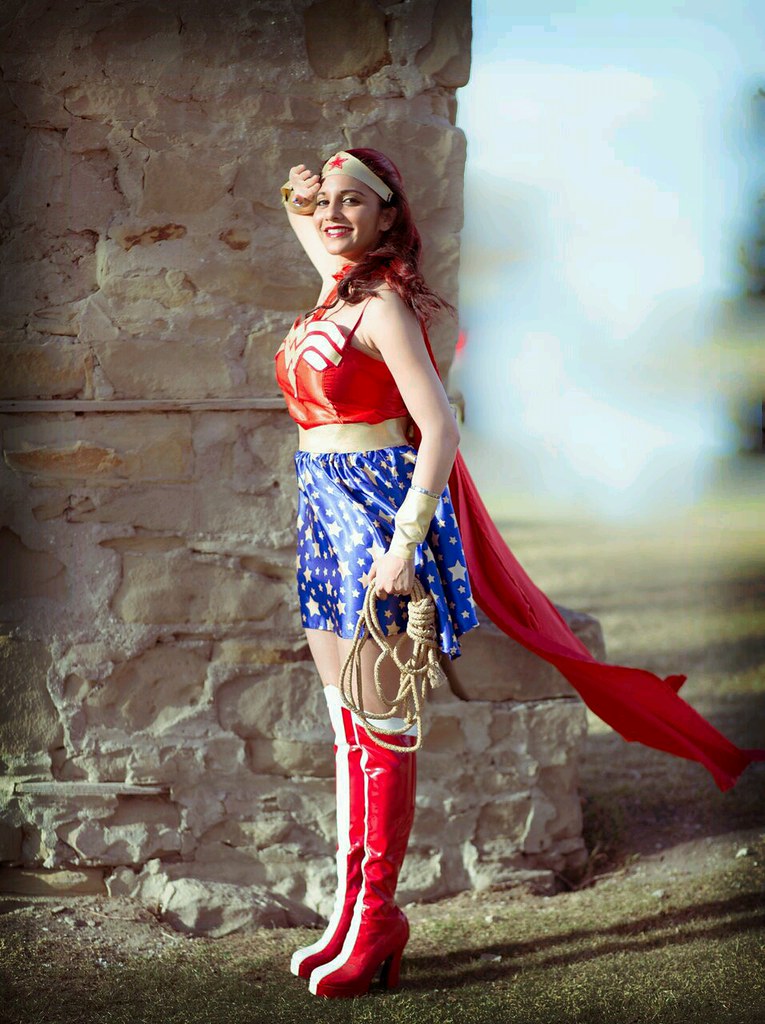
We also were smart enough to hire Victoria Hall who has done our Fiona and Wonder Woman photos to do another round of cosplay photography.


The first time we met Victoria only one of us was in body paint....

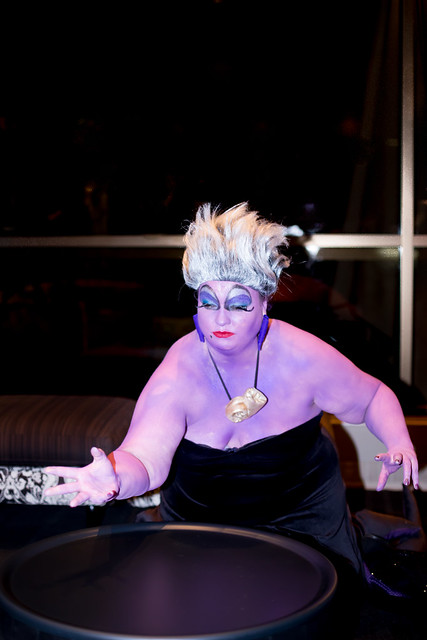
This ended up being our first major exercise in full body paint for both of us. Dejathoris has had an Ursula costume for a few years now and hasn't had the opportunity to photograph it (if you don't know this by now, we suck at remembering to photograph our completed work). She then thought it would be funny if the person who has the home for rescue animals (aka "The Zoo") would be Cruella DeVille (me).
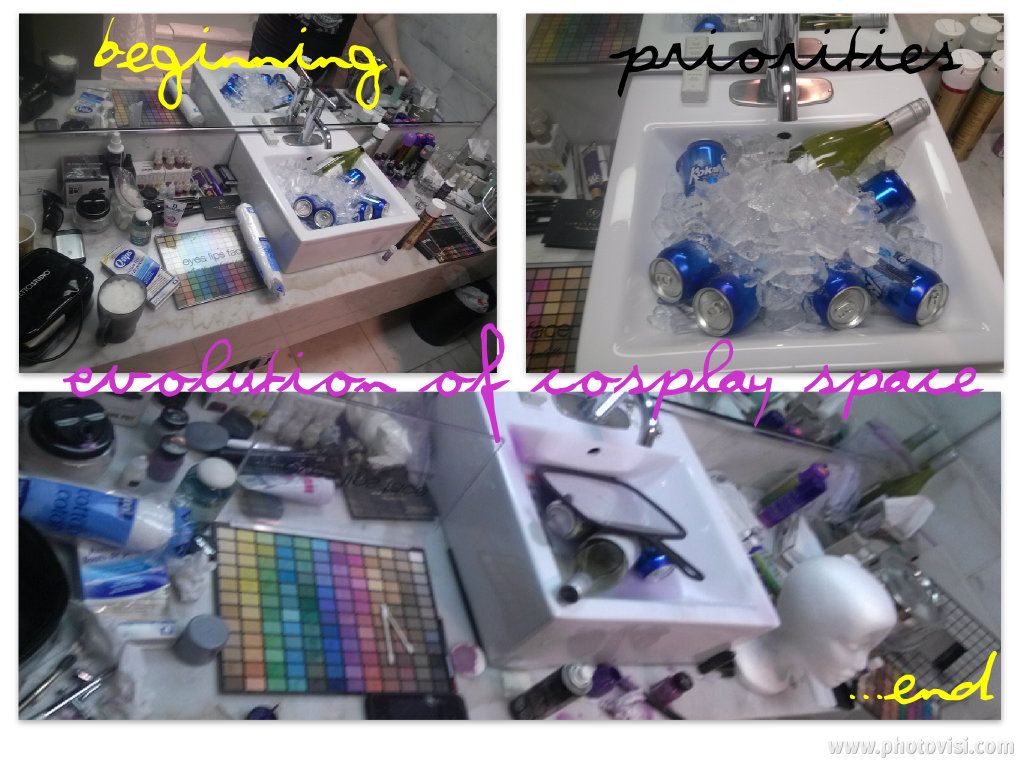
A few months ago I purchased a Belletto Studio airbrush system for the full intention of doing more airbrushing makeup and honing my techniques. In order to get used to it I started using it for every day makeup. FYI: NOTHING compares to airbrushing your makeup on. You look freaking fabulous.

Dejathoris had also purchased an industrial sized air compressor and we found an airbrush unit at Princess Auto for cheap that worked. The only problem was the units vial for paint was non-gravitational. Meaning that the vial was below the unit, not above like the Belletto. That's my technical term for it. Deal with it.

We watched a ton of YouTube videos on how to do Ursula makeup but my favorite was this timelaps version which helped us pick out the teals and blues for the eyeshadows.

And although we were going the more "glam" styled Cruella, this was by far my favorite Cruella tutorial. She's just fabulous.

Cruella was a black Fun Fur coat we'd been gifted by Momma Dejathoris and we added some white cuffs, trim, and collar, and added in the "glam" wig. The dress was something I had left over but did not realize how SHORT it was.. My bad. I'd made the earrings and ring from a sting of faux-turquoise flat rounds I'd found at Micheal's. I glued the earrings to pin posts because they didn't have studs available, only earring drops. The ring piece was inserted into a cheap setting found there as well.  I then decided to do a coating of Ben Nye MagiColor Grey ML-25. It goes on reeaaallly light but dries to a nice even grey, but fades pretty quick too. I tried doing contouring with powders afterwords but then ended up brushing off the body paint. So word to the wise, either do airbrushing or do regular makeups. Don't do both. And if you know how to do both, please email me! We sprayed my arms, legs, chest, back, everything! We used up the entire 1 oz vial that I was hoping to use later on in the week but no dice. I'd painted my nails red with the ring finger done in Dalmatian spots for added effect. Although in the pics you'll see that I'm wearing one red glove for effect too. I added red strappy shoes I had on hand (what shoes DON'T I have on hand?).

Ursula, as I mentioned already had the dress, so we're going to focus on her makeup. We bought countless vials of Ben Nye MagiColor Purple ML-15 for the base and Royal Violet ML-35 for contouring. We decided to go the more cartoon focused and were really happy with how the purple worked on Dejathoris in our test runs. Side note: Ben Nye... Why does your "airbrushing" makeup come with a brush and not a dropper??? And if this isn't airbrushing makeup, then we need to know.

So we started with the big Air Compressor in our tests but it just kept getting clogged and the Belletto is smaller so we thought instead of hauling both, we'd just use the Belletto. Well, we started with the Belletto and if we had just stayed there, we would have been there all night and never made it to the party. It went on SO LIGHT. I took one of my makeup brushes and just started PAINTING Dejathoris to save some time. That worked pretty well. We then used the airbrusher to smooth over her, which worked out perfectly. We ended up being so happy with the effect that we nixed the contouring.

We then stuck with blues and teals for the eyeshadow. All came from the e.l.f mega palette that can usually be found at Superstore for about $11 during Christmas or Hautelook (or from their website, which I've never used for some reason). The final touch here is definitely the wig. It's actually a Don King wig, styled and sprayed white at the front roots for extra depth. There's a bunch of other wigs you can use but this one is the one we're happiest with.
I saw this bus stop and thought this would make a hilarious shot, I was right...
If I could do it again though? I would apply this sealant between every coating, which Dejathoris wouldn't let me do. I think the more finishing spray would have made it hold on much longer. And to prove it I'm going to make her do a test run of it while we're working on next year's project. She used the gluestick method to do her eyebrows, and if you want more tips on that, there's a great video on it by Kandee Johnson here.

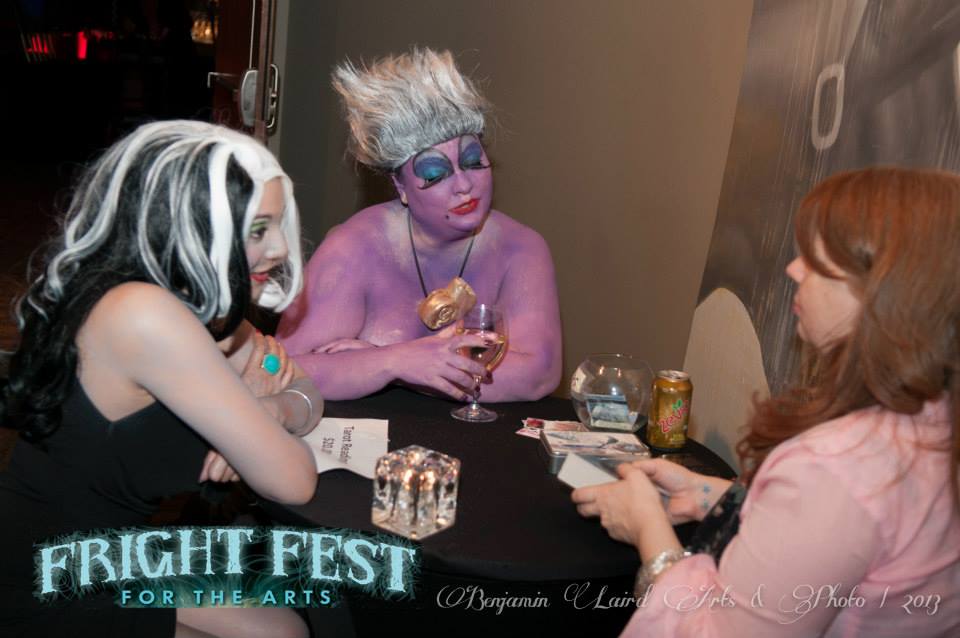
The party was a blast, we met four other Ursulas one other Cruella. The opera-style Ursula (seen below) won the costume contest last I heard. I wasn't sure as we were getting are cards read. Point of note? Don't tell the tarrot reader that they are incorrect. They don't like that.


Random notes:
- Did you know there's a packaged "sexy Ursula"? WTF

- Don't drink and airbrush, you may break your toys... I'm afraid to email Belletto even though I'm still under warranty

- Don't have a cooler? Ice in the sink works well, especially if you're spending 90% of your time in the bathroom working on makeup. It also contains the mess a little

- Overall we used three 1oz bottles of Purple on Ursula, which is less than what we've read on other sites for recommended body coverage, so as long as you are careful and ration, you should have enough

- Unrelated: don't leave open bottles lying around, you'll dump one eventually

- If you're in Calgary, Don't Hobby Shop has a LOYALTY program that I found out after repeatedly cleaning out their Ben Nye stock for WEEKS

- I'm a little mortified that I used the term Selfie, even in a caption

As always, all our photos can be found on our Flickr. There will be more Cruella and Ursula ones shortly!

Sunday, November 3, 2013

Halloween 2013 - Part I: Scooby-Doo, Where are you?

Halloween! The favoritest of holidays for cosplayers. You get to view all the "normals" out there participating in your most favorite of activities. As you may have noticed from previous posts we suck at taking pictures of ourselves in costumes but this year we went to two different events are were smart enough to actually get a photographer (our most favorite Victoria Hall) for one, and ran into one at the other!

Miss Hall is still sending us some photos on the first, so I'm writing about the second, first. If that makes any sense.


All this started because I bought a pair of purple boots on a whim because:
1) They were Purple Pirate Boots (all that and I don't have a pic of the BOOTS?!?! We really suck)
2) They were on sale at ShoeDazzle (of note: if you're Canadian, only buy on sale!)

When Dejathoris found out about the boots I was proclaimed Daphne, ending the Geek Girl battle of Who-Gets-To-Be-Velma, which has lasted the better half of a decade. Also, I was totally up for it, since I saw these amazing shots of Scoobie Zombie Hunters over on io9. I wasn't able to transform my Daphne into a hunter for this year's Zombie walk (Dejathoris had a wedding to go to, lame), but hopefully next year!

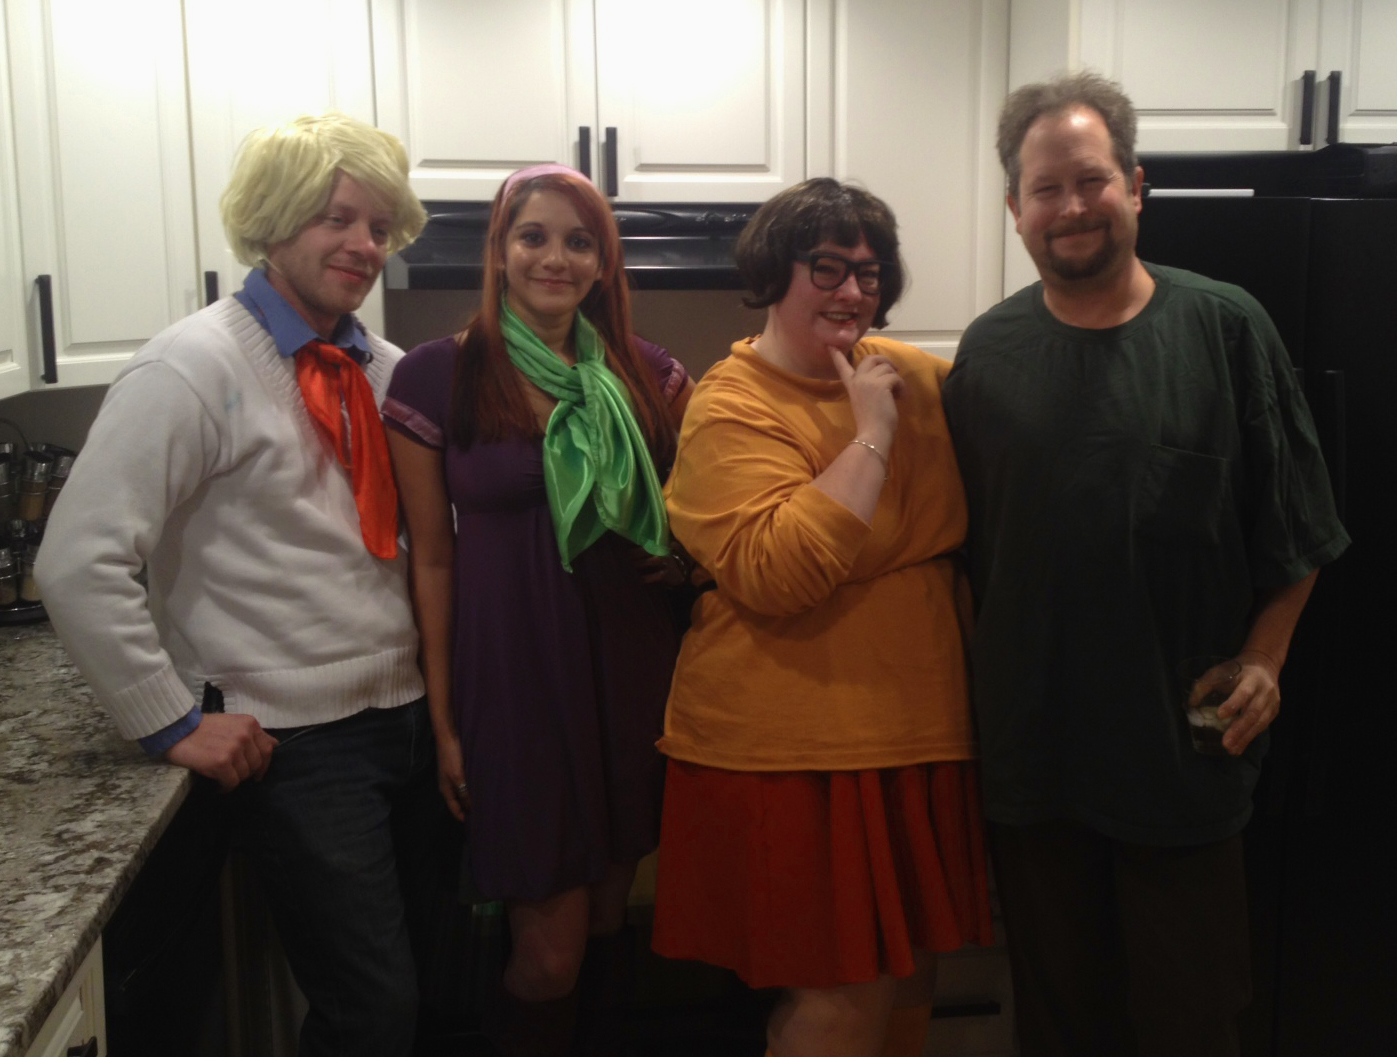
The nice thing about the Scoobies is that they are pretty simple. I already dye my hair red on a regular basis, Blond Surfer wig for Fred, short brown wig for Velma. We left Shaggy's hair as is (that's Mr Dejathoris', he just lets us drag him into cosplay on occasion).

Daphne
We found a purple dress at Value Village (VV) and added the light purple arm bands. We didn't add the stripes at the bottom since the dress had this bubble-hem and would just look strange. Pair that with light purple tights and the aforementioned boots, made a headband & scarf and voila!

Fred
Purchased a light blue shirt and small white sweater at VV, paired with jeans, made the orange ascot, and wig. Done. Guavious was on days off so we told him it was fine he didn't shave off the beard. He so rarely gets days where he doesn't have to shave so we let him have it.


Shaggy
A big and tall store had a size 6XLT T-Shirt which he wore swimmingly, paired with his Shreck pants from last year. Done.

Velma
DO YOU KNOW HOW HARD IT IS TO FIND ORANGE SOCKS?!?!?! We tried to modify tights (fail), Soccer socks (fail), dyed socks with the cheaper dye (fail), then finally went with what we should have done in the first place and used the good dye (RIT) and dyed a pair of white socks. Paired with an orange turtleneck and red skirt, some cute red mary janes from VV and some hipster glasses.

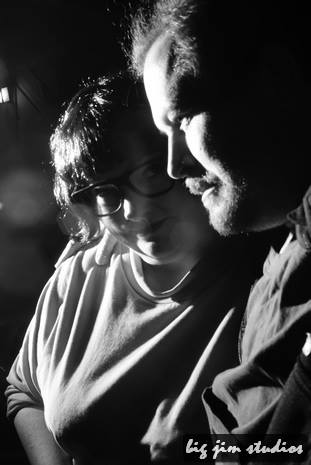
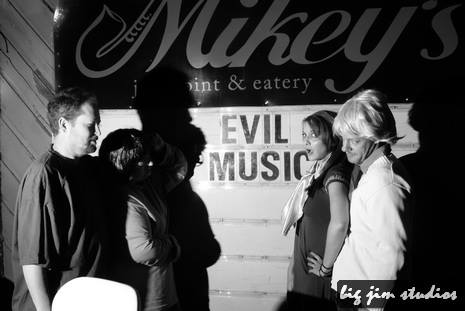
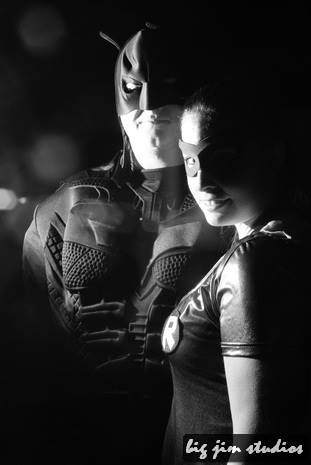
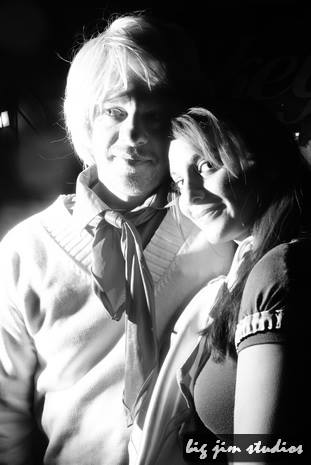
While we were out and about we ran into a photographer that has apparently been making the rounds at all the cons, doing only black and white photos of profiles. Well he got some amazing shots and I have to share. All the rest of his work is up on his Flickr.


Funny side note, a woman commented on Penny Lane (the amazing jacket I also found at VV) saying "If there's any night to wear a ridiculous jacket, it's Halloween!" not knowing I have essentially worn that coat EVERYDAY since I bought it.

Oh, and why wasn't Scooby there? We were on the Case of the missing Scoob.

Random Notes
- Those "normals" we talk about? Here's a pair that were visiting us for the Flames vs Leafs game we dragged into it
- At said Flames/Leafs game Guavious and I dressed up and added our jerseye all prep style to our backs. People didn't know we were in costume.. WTF?
- My "editor" (Guavious) and I are discussing the proper spelling of Scooby vs Scoobies, it's funny
- Holy shit! A post within a week of the event??? Consider this the exception, not the rule (not that I don't try)


As always, our entire photo collection is up on our Flickr.


Friday, January 18, 2013

Calgary Zombie Walk - October 2012

WOW I forgot to post this! This is from the Calgary Zombie Walk... Dejathoris and I didn't take very many pictures so we were waiting for more to show up on the internets before posting... And then I must have forgotten. This could happen sometimes. As always, you can see all our pics on our Flickr! Dejathoris went a Zombie Housewife. Her costume had a lot more details than I can remember so I'm going to ask her to write her own piece.

Our View from the middle of the pack

So... I don't know if you know this about me, but I'm kinda a wuss... I can't watch scary shows or movies unless someone is around so that they can tell me when I can look back at the TV. Suffice to say, I decided that I wanted to participate in the Calgary Zombie Walk this year to see what it was all about!  I did this knowing I would probably run in the opposite direction if I came across someone doing zipperface...(Edit: Dejathoris would distract me by pointing in the other direction)

My excuse was that originally for work this year, we were being challenged to Zombify a non-zombie movie or character. I figured if I was going to make a zombie costume, I would want two uses out of it at least and it's most likely not going to be a con or hallway costume. Dejathoris and I happened to find out about a super sekrit Costume sale happening at the Epcor Centre earlier in the month so we decided to head on downtown to see if we could find any inspiration pieces. Whilst wandering I came across a BRIGHT SHINY GREEN DRESS that actually fit and was long enough that made me think of Tinkerbell.
Adorable Zombie Children

AND THEN I WOULD GET TO WEAR WINGS! As Dejathoris knows, and now you do to, I have a secret obsession with wings. I follow people around at cons that are wearing them, and I stare at them fondly every year in Halloween shops wondering when I would be able to wear some of my own. I've also bought a few in recent years but have yet to wear them. Now, now I have my excuse! And twice no less!

So I pretty much had everything I needed except for wounds. Knowing that I would be wearing the wounds two different times for long periods of time I decided to pre-purchase some wounds rather than make my own from scratch. I found two at the Halloween Shop (one of those temporary Halloween stores). One for my arm and one for my face. As scared as I am about seeing gore on others, I gotta tell ya, I got a little carried away in the gore section of the Halloween Shop. It was such an amazing selection! I basically grabbed one of everything before realizing I should probably control myself... Some of the newer sets come with their own spirit gum and remover and some are just by themselves. But look for quality. Also, look for transparency in the fake skin. The clearer it is, the easier it will be to blend to your own skin tone.

To get the layered effect we used Spirit Gum, a Dark Green Cream makeup, St Ives Clay Mask, and two shades of Bright Green hair spray on top. Oh! And I also used Dark green pixie ears. We adhered the ears on first, then I layered on the dark green cream makeup because it would take forever to set. While that was setting I attached my face wound. Originally I wanted it lower but it would not adhere to my chin. So I kept moving it up until it stuck in place. I then layered on some of the clay mask to add depth. Once that was dry I sprayed the two hairsprays for dimension. Add in the green catseye contacts and that's it!

For the outfit itself, it's the Green dress from the Costume sale plus two sets of green tights. I also cut up a pair of old boots to wear. One set of the tights were for my legs and one for my arms. On the left arm I slit a hole in the tights and attached the arm wound to my skin. This turned out THE BEST. Mostly because I didn't have to use a mirror. Layer on some green "zombie blood" after the same steps from my face and I was pretty much good to go!

I loved how many people were at Calgary Zombie Walk! So many groups and themes. There were a couple other fairies that were too far ahead to get a picture of but we came across some amazing pieces of work. Below is definitely my favorite two pics, the zombie bride and a close up someone got of my makeup!


Monday, October 15, 2012

Shrek Headpiece Tutorial - Dejathoris

Hi Everyone!

With Halloween around the corner I'm hoping to get a few blog posts in... And on top of that, Dejathoris is looking to get in on some writing fun! She sent me this post because she actually remembered to take pictures of her progress. Yay! Enjoy!


Shrek Headpiece Tutorial


Halloween 2012 is closing in fast, and Dejathoris is planning on painting herself and her man green to rock a Shrek and Princess Fiona look.  Understandably, shaving one’s head for a single night of Halloween fun is a big commitment – so instead of asking Mr. Dejathoris to go the full cue ball route, we were experimenting with the idea of using a traditional bald cap.  While effective, these can be time consuming, messy (spirit gum in your hair, anyone?) and uncomfortable.  Luckily, a quick stop at the local Good Will thrift store provided the perfect solution for the low, low price of only $1.99.

Original thrift store rubber Witch mask


It didn’t look very much like Shrek in the thrift store bin... but a half hour of cutting and sewing was all that was needed to transform this Witch into an Ogre! 

Creating a green rubber skull cap


The first step was to cut out face portion.  The remaining cap will be turned inside-out to use the green underside as a base for the new headpiece.

Remaining sections cut from front of mask


The next step was to cut the ear flaps, using the extended chin piece to create the fluted tubes needed to form the shape of Ogre ears.   We saved the face portion for future costuming needs.  After all, you never know when you'll need a rubber Witch nose.

Ready to sew ear flaps


Starting from the narrowest end, each piece was folded in half and sewn upwards about two thirds of the way, then turned inside out.  After sewing a dart into the back centre of the rubber cap to customize the fit, the final step was to sew the stems of ear tubes to the sides, using a solid zig-zag seam to anchor them securely. 

Completed Shrek headpiece!

And viola, DIY Shrek on a budget!


Protips for working with rubber:

·         Using a specialised leather needle, available at any sewing or crafting store, will make sewing the thick rubber much easier.  
·         You will need to manually feed the material through the sewing machine, as rubber will “grip” your feeding foot and tends to stick in place quite easily.
·         Use a heavier thread – such as embroidery or upholstery thread – and a medium to long stitch length on a lighter tension setting in order to ensure that your stitches don’t bite through the rubber.